- Marichi: “Ray of Light.” Marichi, as one of the aspects of the sun, is the master of illusions, the one who awakens us from dreams or delusions. Also, the name of a sage, one of the Seven Rishis of the Vedas.
- Asana: Pose
Marichyasana D is the seventeenth pose of the primary series, and the twelfth seated pose. There are four variations of Marichyasana (A, B, C, D). A & B are forward folds (straight leg / lotus leg), and C & D are twists (straight leg / lotus leg).
The common thread of the Marichyasana poses is (1) the loosening of the Sacroiliac (SI) joint—as such, it is an essential posture for aspirants to deep backbending and lotus postures—and (2) enhancing the mobility of the shoulder girdle by binding the hands together behind the back.
The following is a discussion of the position on the right side, as pictured. As an asymmetrical posture, it must be repeated on the left side. In Ashtanga, always twist to face right first; the second side is to face left. The exception to this rule, traditionally, is Pasasana.
FOCUS ON…
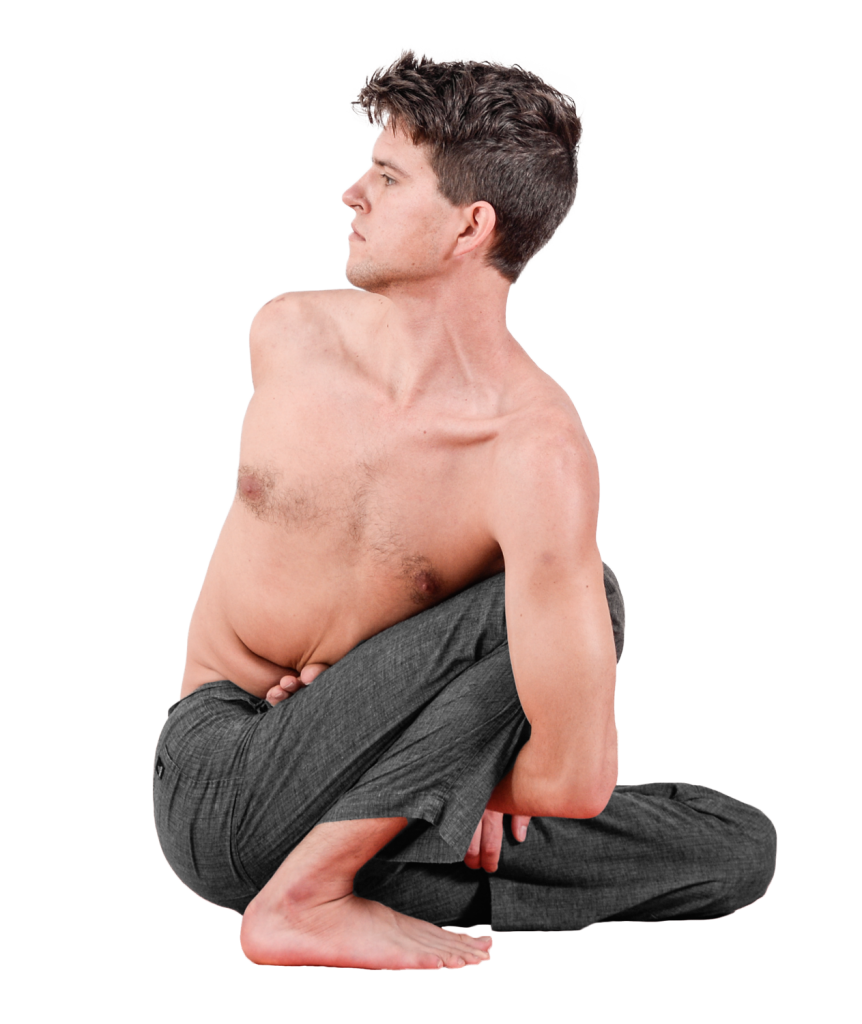
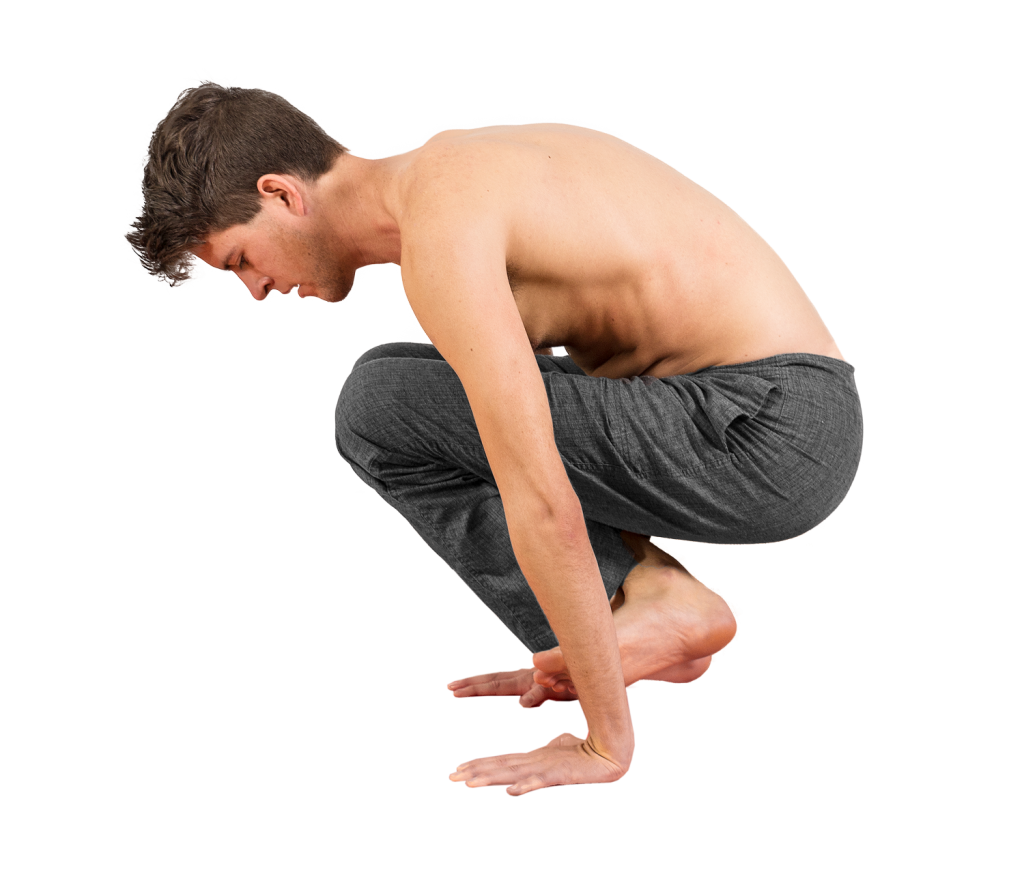
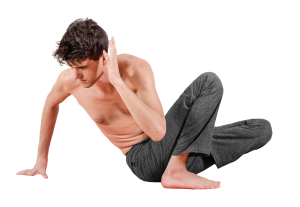
Marichyasana D is the half-lotus variation, as is B. For the first side, the left leg is placed into lotus (or crossed underneath), then the right leg is bent, into a squatting position. It is important that the right leg is in a true squat, supporting the weight of the body. Shifting the weight forward will also allow the lotus knee to press fully into the earth; if the weight is on the back of a posteriorly rotated pelvis, the lotus knee will be floating regardless of flexibility.
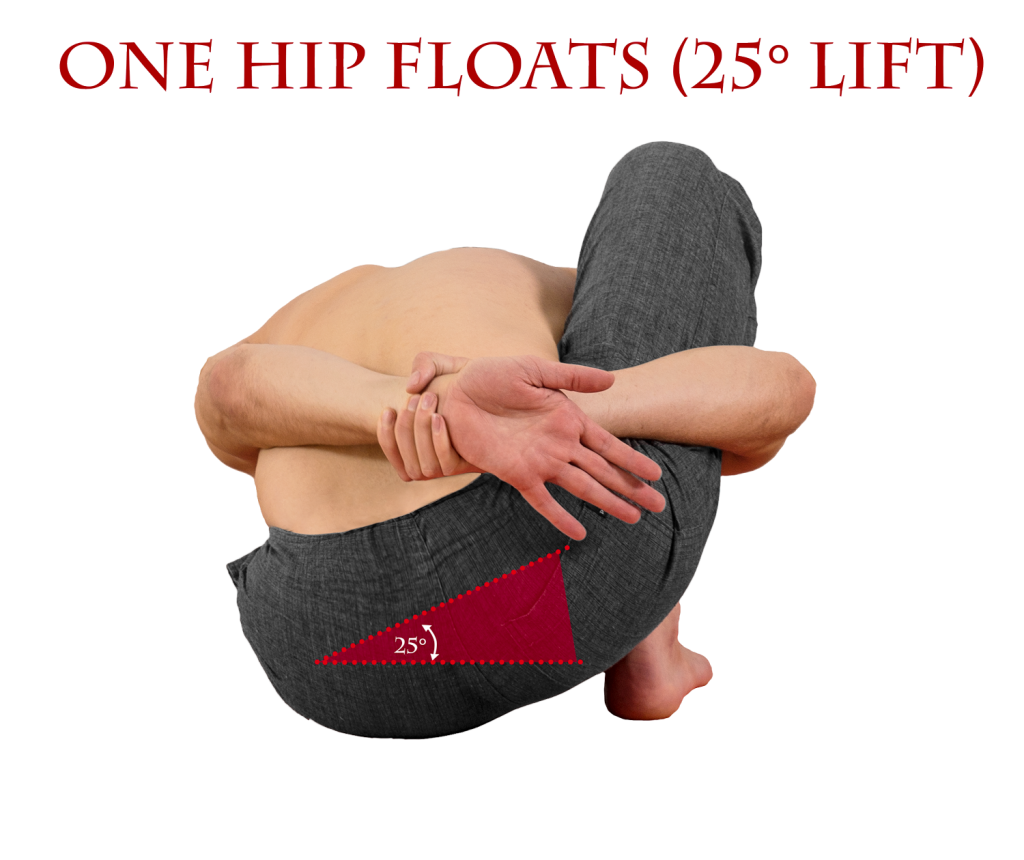
The ‘default,’ ineffective, position is typically for the hips to be on the ground, supporting the body’s weight, posteriorly tilted. Although it is important in all the Marichyasana variations for the hips to be mobile, it is especially necessary in the twisted variations. For the weight to be in the sitting bones is both immobilizing—preventing a full twist—and dangerous to the sacrolumbar junction, which would experience increased force while in its most vulnerable alignment (flexion + twisted). The pelvis should be neutral, not posteriorly tilted. When leaning forward enough for the right hip to float and the weight to be in the right foot, the spine will be at < 90° angle relative to the floor.

You must shift your weight forward so the right sitting bone lifts slightly off the ground, and the weight comes into the right foot. The left hip stays on the ground. DO NOT try to keep the hips “square” in any twist. Allow unrestricted movement from the hips while entering and exiting twists. In the state of the pose, you can gently work towards squaring (emphasis on “ing;” focus on the process) the hips. If the pelvis is held rigidly, you will be at a higher risk of injury because force will not be able to transfer properly between the spine and the ilia (SI joint).
The SI joint is the connection between the two halves of the hips (ilia) and the base of the spine (sacrum), and serves as the connection between the lower body and the torso. In many Western body this joint is fused or immobile from our sitting and exercise patterns. That immobility contributes to back pain, “humpback” (kyphosis), etc. In backbending, healthful movement of the SI joint is essential to avoid overuse injury of the lumbar spine.
To enter the twist, it is important to lean back slightly to ensure that movement can come all the way from the hips. Simultaneously, harness the power of the exhalation to curl and twist fully. If you don’t lean back, the pelvis and lumbar spine will not be able to participate in the movement, and/or the skin of the abdomen will get “stuck” on the thigh. This results in either a shallow, uncomfortable twist, or if you’re hypermobile, over-twisting of the thoracic and cervical vertebrae.
The next action is to bind the arms (around the bent leg). The basic principles are the same as binding in A or B variation; the bind in this posture is somewhat more demanding. Both arms are in full internal rotation, and the chest must be lifted. The twisting action must include the collarbone, where it joins the manubrium over the heart (the sternoclavicular joint). Trying to twist just the forearm without involving the collarbone will be futile. Check the Solutions section below for suggestions on how to work towards a full bind.
Once bound, use the strength of the bound leg to help propel the twist. The interplay of resistance between the bound leg and the binding arm allows length to come back into the spine, the shoulders to open and relax, and the twist to deepen.
The benefit of binding, in addition to increasing the range of motion and health of the shoulder girdle, is that it makes it necessary to use your core musculature in order to stay upright. Propping yourself up with your hands in a twist can give a sensation of increased stability, leverage, and ease…Unfortunately, too much leverage in a twist, combined with relaxed muscles and a posterior pelvic tilt can destabilize the spine.
To twist healthfully and responsibly, sit upright and distribute the effort of twisting evenly from the hips to the crown of the head. Although the spine is more mobile in twisting in certain places, the internal experience of effort can feel dispersed equally.
The gaze is down the length of the nose, beyond the back of the mat. Keep the head high, soften any tension in the face, and adopt a regal gaze.
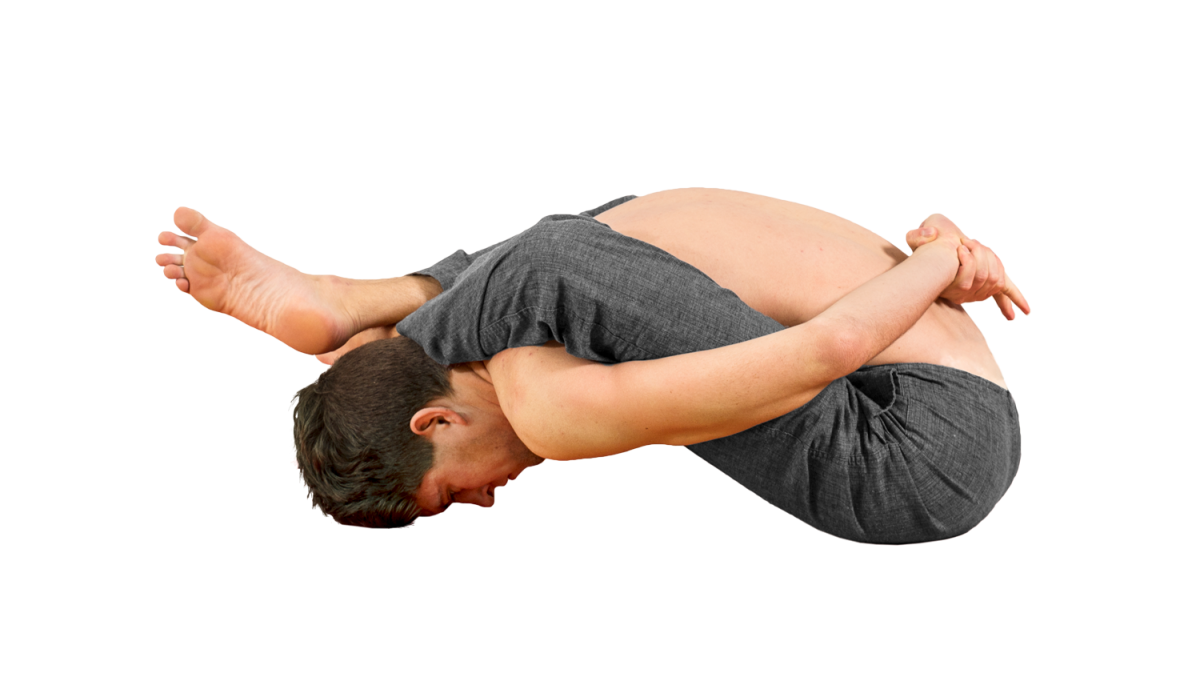
- Fold, don’t curl. Ideally, a forward fold is a very shallow flexion, rather than a deep rounding of the spine. Forward folding is like folding a piece of paper: rather than head-to-knees, the belly comes down first, the ribs follow, then the head last.
- The movement of forward folds comes from the hips. Specifically, from an anterior tilt of the pelvis. The hips move first, and the ribs and head follow along, similar to the movement of a whip. If you slump into a forward fold, or move from the upper body, you are wasting your time.
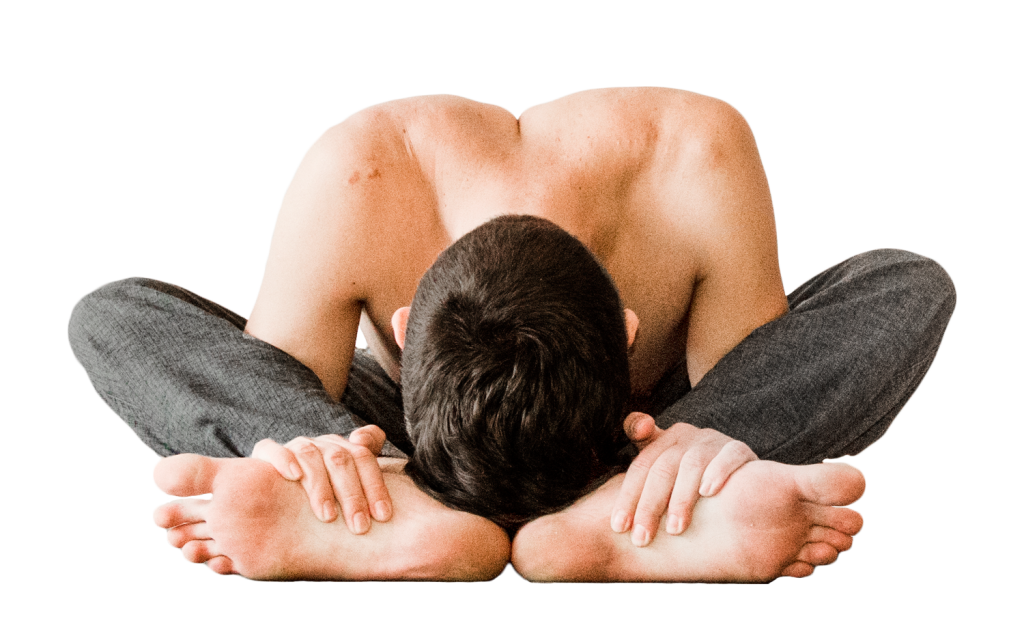
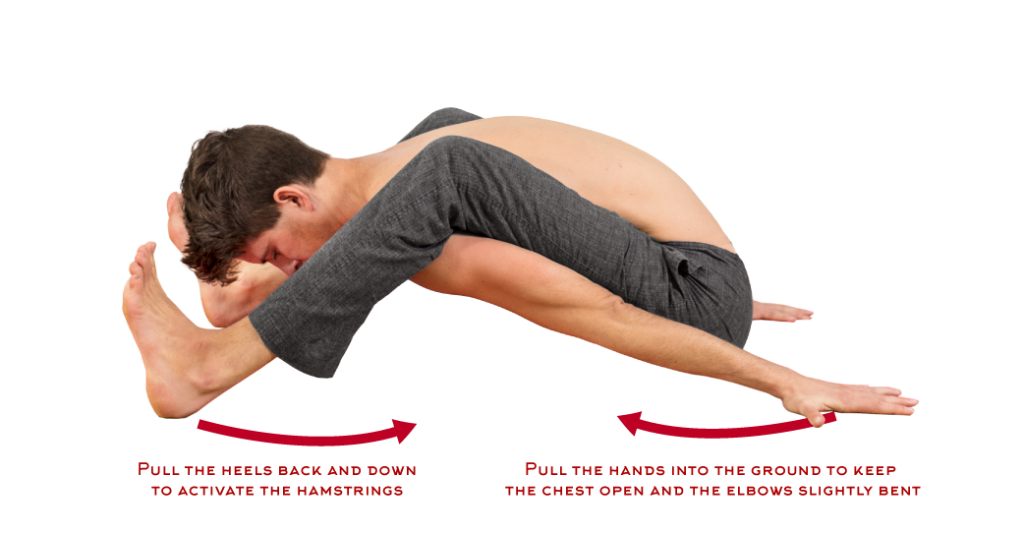
- Keep strong, active hamstrings: dig/drag the heels down into the mat so there’s a sense of strength and depth at the backs of the knees.Draw the sitting bones together. Spread the toes and press through the root of the big toe. Flaccid legs and pelvic floor greatly increase risk of injury.
- Internally rotate the thighbones. If only one leg is straight, as in the asymmetrical postures, internally rotate that leg.
- Do not clench the abdominal muscles. The belly ought to be long and soft, with a sense of hollowing, or the belly falling back against the spine. Engaging the rectus abdominus shortens the torso, restricts movement, and places potentially harmful pressure on the spine.
- Pull the shoulders back, and broaden the chest. Keep the collarbones long and the shoulders back for the entire duration of the asana.
These principles are common to all forward folds. Each forward fold also has its own distinguishing actions and characteristics.
Vinyasa of the Pose
From Sat, jump through and land in Dandasana.
Still exhaling, place the left leg in lotus position (or cross underneath; discussed below). Bend the right knee fully.
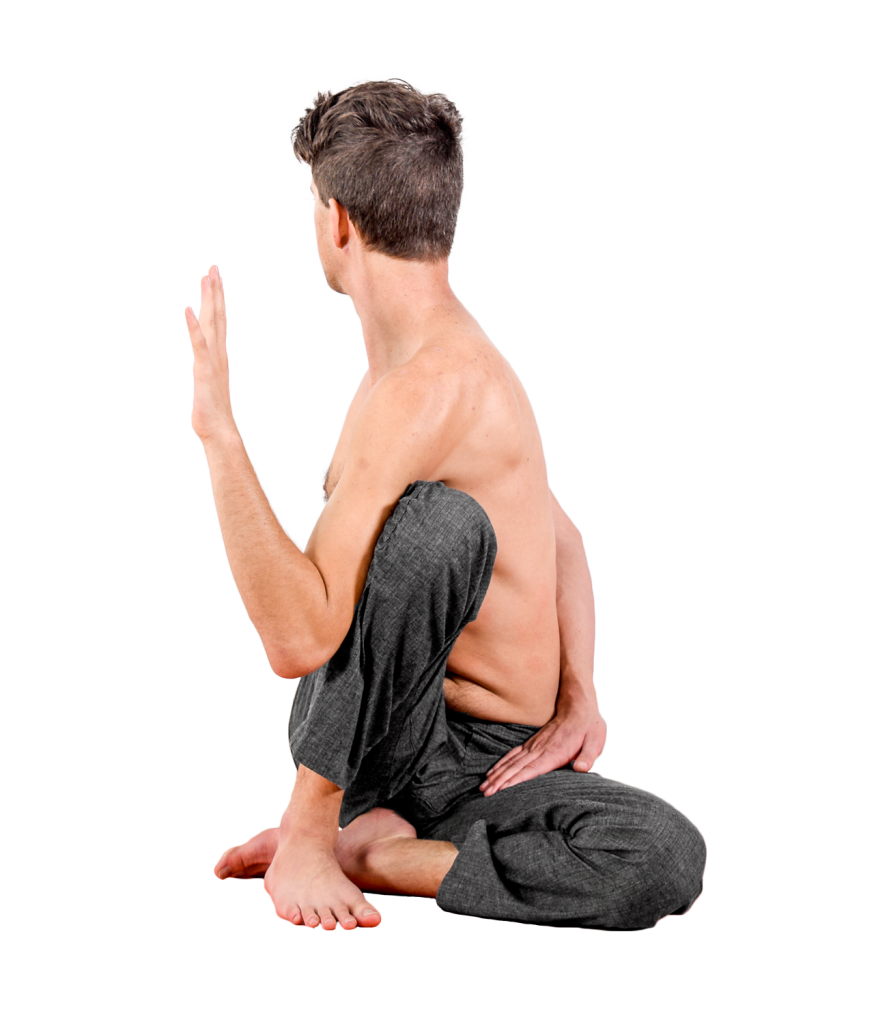
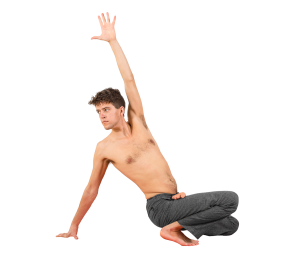
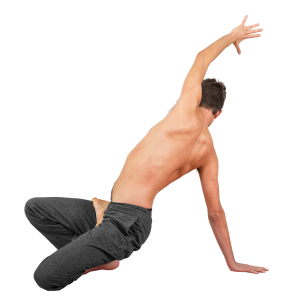
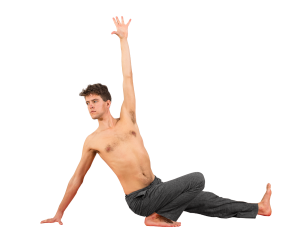
Place your right hand behind you. Inhale and reach the left hand up and back, lengthening the belly and starting the twist.
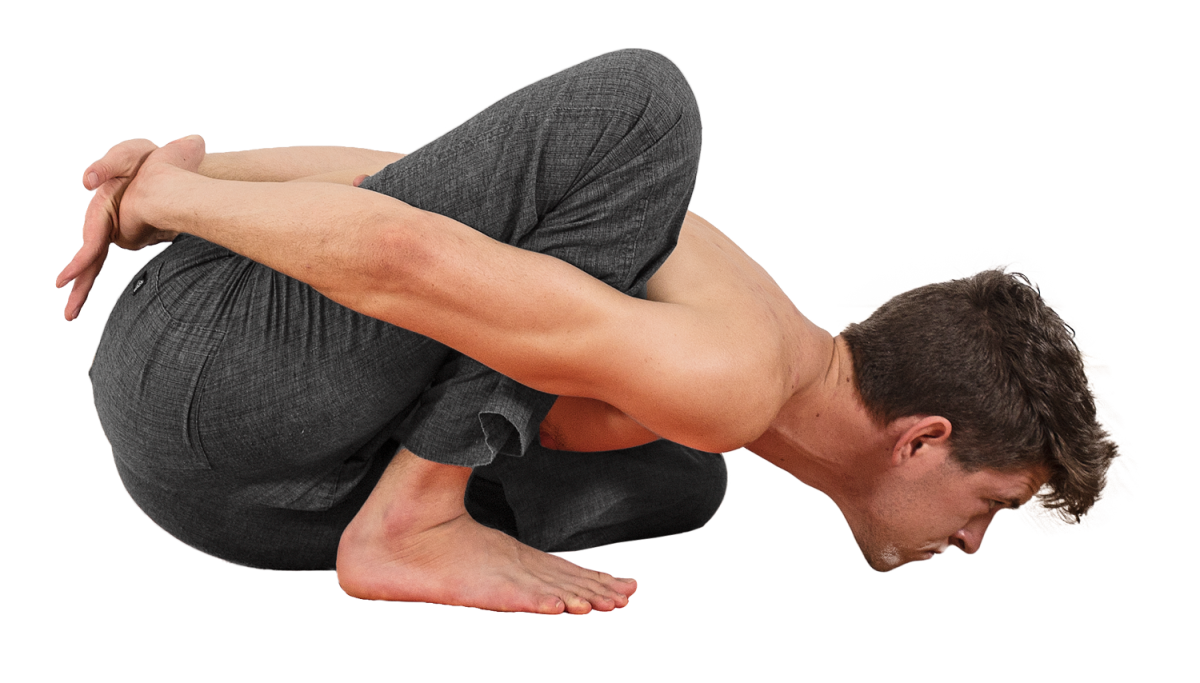
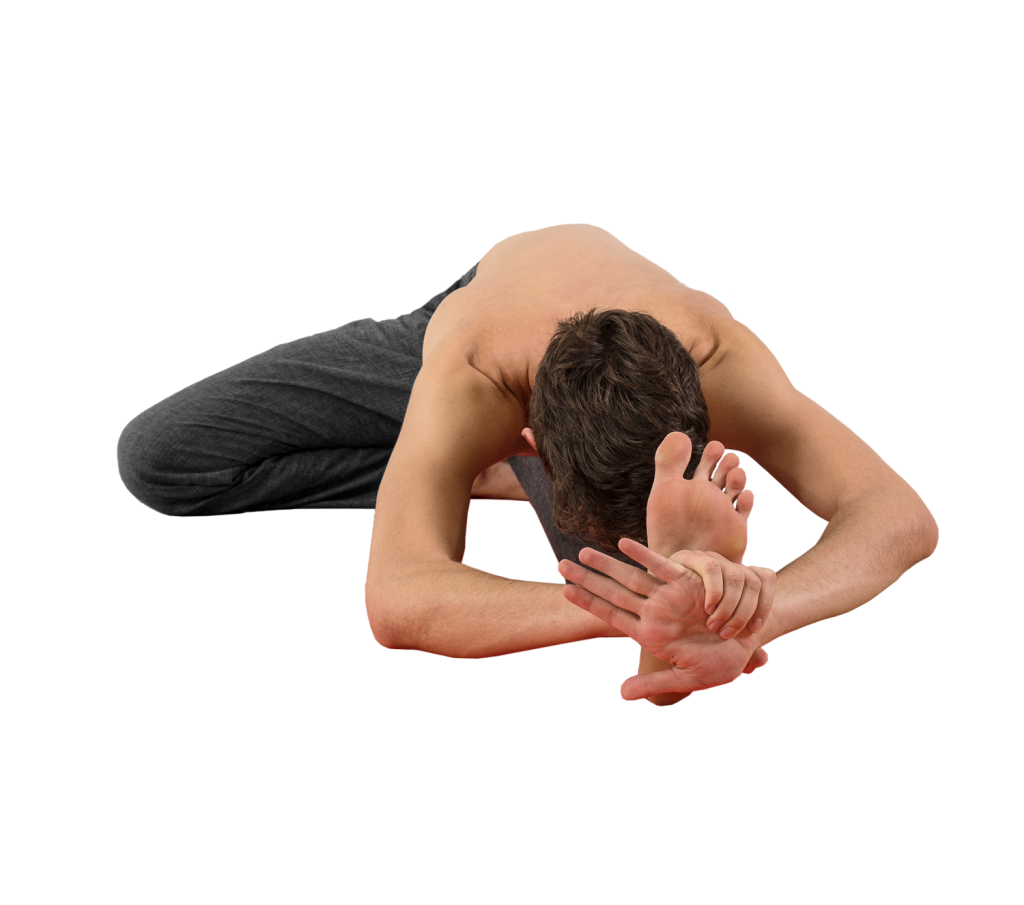
Exhale, curl in and hook the left elbow as far down the right thigh as possible. Internally rotate the left arm as much as possible, including the collarbone.Bring your weight forward, and bind the hands.*
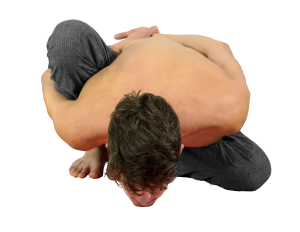
This is the state of Marichyasana D; hold for five breaths. With every breath, sit up straighter and taller.

On the fifth exhalation, turn your head to look forward towards the front edge of your mat.
Inhale, and release both hands with control (don’t let them “pop” apart), placing them to the sides of the hips.
Exhale, jump back and take vinyasa.**
Repeat for the second side.
*Binding the wrist is the preferred method. Alternatives are listed below; if you can hold the wrist, straighten the elbows more and more as you gain flexibility to help the torso lengthen.
**Traditionally, vinyasa is taken between sides of asymmetrical postures. If you’re just starting out and building stamina, or have time constraints and require a faster practice, the vinyasa between sides may be omitted.
ALTERNATIVES & SOLUTIONS
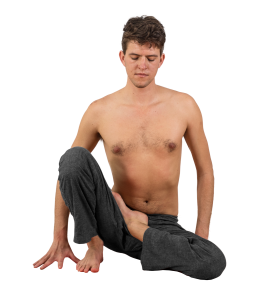
If lotus is inaccessible or painful, simply cross the leg beneath.
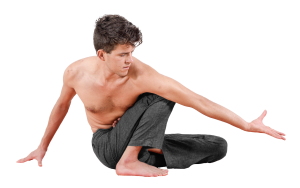
An intermediate stage is to work on getting the armpit and knee together without binding fully. Additionally, this is a useful variation for those with injury to the shoulder girdle (commonly, torn or irritated bicep tendon). You will have an easier time if you keep the left elbow bent rather than straight:
If you’re unable to sit up straight (the spine is rounding), or if your right sitting bone feels stuck on the ground (rolling back): place a blanket or block beneath the hip of the lotus leg. Add additional support if necessary until both the leg and spine can be straightened.
If you have had knee injury or surgery, and/or feel a pinching sensation when the knee is closed fully in this way, place a rolled up washcloth or piece of fabric behind the knee. When you squeeze the cloth with your knee, the bones of the femur and tibia will be held slightly apart. In the majority of cases, this alleviates or eliminates any pinching sensation or pain. The more severe the injury, the greater amount of cloth should be used. The support can be reduced over time as the joint heals. It’s also helpful when recovering from a knee injury to sit up higher using blankets.
If you can wrap the arms around behind the back, but cannot bind the hands, use a strap or towel to bridge the distance. Over time, walk the hands closer and closer, then bind fingertips, then clasp hands, and finally the wrist.
COMMON MISTAKES
Hunching forward, or letting the head hang, is common when binding or balancing is a challenge. With every breath, work on sitting up straight, lifting the sternum, and lengthening the belly. Focus on feeling and projecting an air of nobility and grace.
The common mistakes of the Marichyasana family appear in this position, as well:
Be sure that you have the necessary amount of space between the foot and opposite leg. If they are too close, or touching, it is impossible to create the proper actions that define this pose. If your foot slides in when you’re in the pose, use a block as a spacer.
One of the most common errors is for the right leg to be “dead” or listing off to the side. This shows that the hip and thigh musculature is not participating effectively in the movement.
Take the necessary steps to make the leg fully vertical, which, depending on the situation, might include:
Press with the leg away from the midline, propelling the twist
Encourage by squeezing with the arms
Lean further forward, sitting up on a block if needed
Push the right foot and left heel firmly into the ground
Spend 5 breaths easing into the posture and getting the legs and hips into position before binding.

 Now, exhaling, unbind the hands and place them to either side of the heart.


